Egida Project
Table of Contents
- Overview
- Installation
- Prerequisites
- Download and install
- Getting Started
- Create and delete host groups
- Show host info
- Hardening Menu
- Domain Specific Language
- Hardening
- All CIS Benchmarks
- CIS Points
- CIS Sections
- CIS Controls
- Hardening Variables
Overview
The Egida project is a server orchestration system that allows to perform and deploy security configurations (custom control lists) over a machine infrastructure. These security configurations can shield and protect those servers by implementing the desired security measures depending on the server profile. Controls are sourced from the CIS Benchmarks, and we also need to obtain system information about each of the deployed servers to ensure proper deployment.
To achieve that, Egida is built using a microservices-based architecture composed of the following three modules:
-
egida: This is the main module, in charge of providing the communication interfaces with the user, as well as the process of the specific domain language called Aspida. Using this module, the user can define the different profiles to work with and the actions to be performed.
-
egida-roles: This module contains the definition of the Ansible roles that contains the actions corresponding to the security controls that are defined for each profile that a machine may have assigned. These actions can be either hardening operations (CIS Benchmarks) or setup actions to prepare that machine so it can be used correctly by Egida.
-
egida-api: The functionality of this module is to provide information of each machine to be used by Egida. This information can be varied: the services that are currently running, the operating system version or the score obtained with the Lynis tool… any kind of information that we determine it is interesting to better deploy any security control.

Installation
Prerequisites
Egida v1.0.0 requires the following software to be installed on the master node:
Currently, Egida v1.0.0 needs an Ubuntu >=18.04 LTS OS.
- Ansible >2.8: Install Ansible
sudo apt update
sudo apt install software-properties-common
sudo apt-add-repository --yes --update ppa:ansible/ansible
sudo apt install ansible
- Python 3.x: Install Python 3
sudo apt update
sudo apt install software-properties-common
sudo add-apt-repository ppa:deadsnakes/ppa
sudo apt install python3.7
sudo apt install python3-pip
At this point, Python 3.7 is installed on your Ubuntu system and ready to be used. You can verify it by typing
python3.7 --version
Download and install
In order to install the Egida core you have to follow the instructions below.
wget https://github.com/antonioalfa22/egida/releases/download/2.0.0/install.sh
sudo chmod +x install.sh
sudo ./install.sh
Getting Started
Egida can be executed in the following ways:
Create and delete host groups
Egida, like Ansible, allows you to work with groups of hosts in order to perform actions on these hosts simultaneously.
add-group
The add-group command creates a new group of hosts and executes the setup actions (egida-role-setup) necessary for Egida to communicate with each host.
sudo egida add-group -c [local | ssh] -g [Group Name] -H [Host1] -H [Host2] ...
Example:
sudo egida add-group -c ssh -g webservers -H 192.168.1.3 -H 192.168.1.2
-c, --connection: Connection (local | ssh)
Example: --connection ssh Localhost not allows ssh
-g, --group: Host group
Example: --group local
-H, --hosts: List of hosts
Example: -H 192.128.2.1 --hosts localhost -H 129.1.1.1
remove-group
The remove-group command removes an existing group
sudo egida remove-group -g [Group Name]
Example:
sudo egida add-group -g webservers
-g, --group: Host group
Example: --group local
Show host info
The Egida Info option allows you to obtain information about a specific host (it must have been previously added in a group with the add-group option).
info
sudo egida info -H [Host] --services [running | stopped | all ] --packages [all] --hardscores [lynis]
Example:
sudo egida info -H 192.168.0.3 -s running -p all -z lynis
-H, --hosts: List of hosts
Example: -H 192.128.2.1 --hosts localhost -H 129.1.1.1
-s, --services: Services info (all | running | stopped)
Example: --services all
-p, --packages: Packages info (all)
Example: --packages all
-z, --hardscores: Hardening scores info (lynis)
Example: --hardscores lynis
Hardening Menu
The Egida Menu option shows a console interface with which we can select the hardening options we want to perform.
menu
sudo egida menu -c [local | ssh]
Example:
sudo egida menu -c ssh
-c, --connection: Connection (local | ssh)
Example: --connection ssh Localhost not allows ssh
Domain Specific Language
Egida has a Domain Specific Language (DSL) called Aspida that allows customized hardening scripts that depend on the value of properties and attributes of the target system.
compile
sudo egida compile -f filename
Example:
sudo egida compile -f /examples/example_cond.aspida
-f, --file: Aspida File to compile
Example: --file /examples/example_cond.aspida
Information on the Aspida language and its syntax is available here.
Hardening
At this moment only the console menu hardening option is developed. The option using a DSL (Domain Specific Language) is under development.
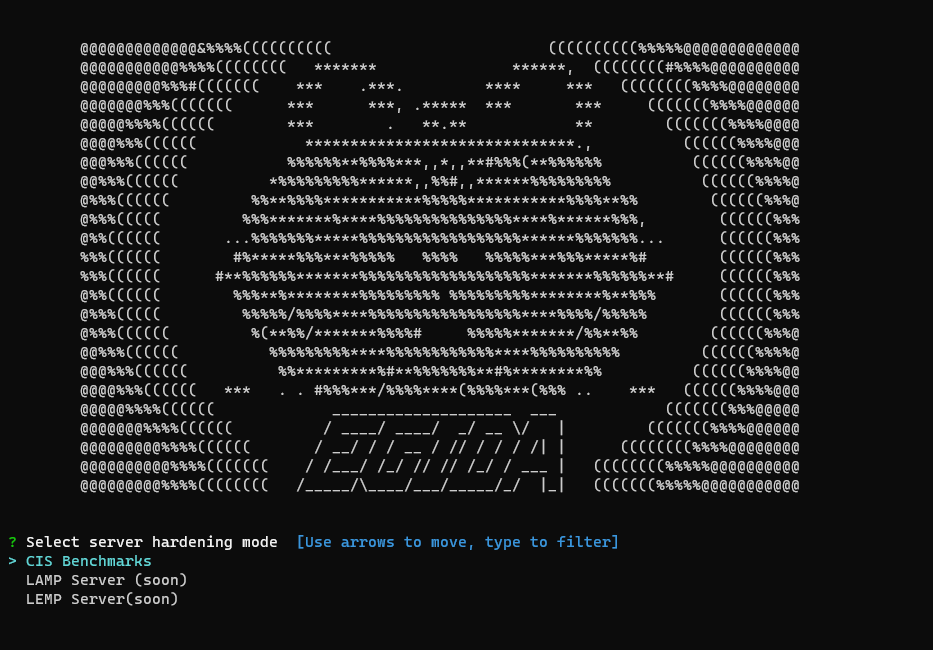
At this moment, only the CIS Benchmarks based hardening option is available, but in future versions the option of LAMP and LEMP specialized hardening will be added.
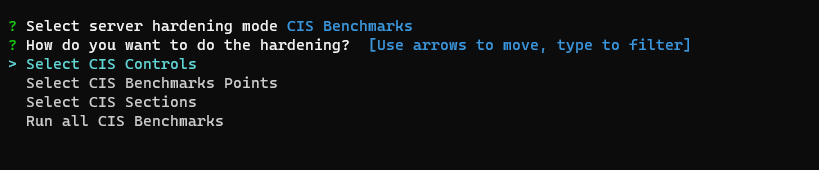
All CIS Benchmarks
This option will perform all the controls of the CIS Benchmarks except those ones included in the variables cis_level_1_exclusions and cis_level_2_exclusions defined in the variables file.
CIS Points
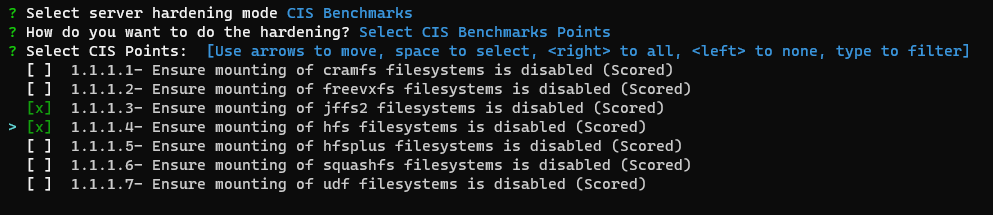
This option will perform all the selected points of the CIS Benchmarks. You can use up, down to move, space to select, a to toggle, i to invert.
CIS Sections
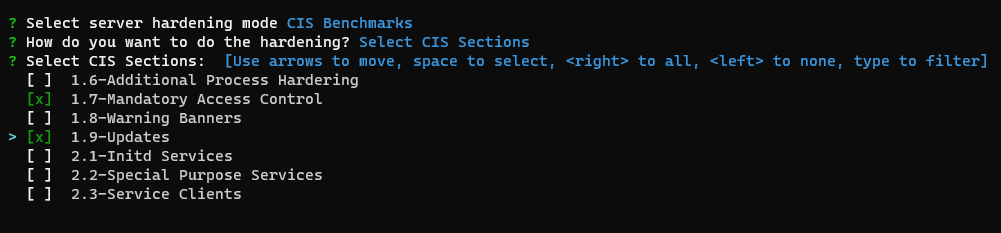
This option will perform all the selected sections of the CIS Benchmarks. You can use up, down to move, space to select, a to toggle, i to invert.
CIS Controls
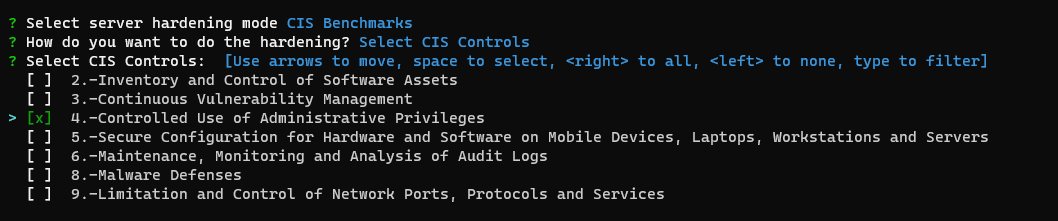
This option will perform all the selected controls of the CIS Benchmarks. You can use up, down to move, space to select, a to toggle, i to invert.
Hosts and Templates

In this menu you can select which file of variables you want to use and which hosts group.
Once selected, the hardening options will begin.
Hardening variables
Many of the operations require data which, depending on the type of installation, can be variable (e.g. user names, passwords, etc.).
To edit these variables there is a template located in /etc/egida/vars/vars_template.yml
Any YAML file whose name begins with vars_ located in the /etc/egida/vars folder will be considered as a possible configuration of variables that can be selected at the hardening time.
It is recommended to never delete the file vars_template.yml as it contains the appropriate syntax and all the necessary variables.
vars_template.yml:
# defaults file for cis

###############################################
# Values which modify the behaviour of the role
###############################################

run_all_level_1: true    # Whether Level 1 of the benchmark should be applied
run_all_level_2: true    # Whether Level 2 of the benchmark should be applied

# extras: true              # Check if want extras

cis_level_1_exclusions: []         # A list of Level 1 recommendations to exclude (i.e. ['1.1.1.1'])
cis_level_2_exclusions: []         # A list of Level 2 recommendations to exclude


###############################################
# Check specific values which can be overridden
###############################################

# ======== 1. Initial Setup ===================

# 1.3.2 AIDE cron settings

aide_cron:
  cron_user: root
  cron_file: /etc/crontab
  aide_job: '/usr/bin/aide.wrapper --check'
  aide_minute: 0
  aide_hour: 5
  aide_day: '*'
  aide_month: '*'
  aide_weekday: '*'

# 1.4.2 GRUB Password
grub_pass: antonio

# 1.4.3 root Password
root_pass: antonio

# ======== 3. Network configuration ===================

# 3.4.2 Host allow
host_allow:
  - "10.0.0.0/255.0.0.0"
  - "172.16.0.0/255.240.0.0"
  - "192.168.0.0/255.255.0.0"

# 3.5.2.1 UFW

ufw_ports_allow: ['22']
ufw_deny_outgoing: false

# ======== 4. Logging and auditing ===================
default_auditd: true  # Copy auditd template


# ======== 5. SSH Server Configuration ===================

sshd_access:
  ssh_port: 372
  allowusers: antonio
  # allowgroups: systems dba
  # denyusers:
  # denygroups:

# 5.3.1  Ensure password creation
pwquality:
  - key: 'minlen'
    value: '14'
  - key: 'dcredit'
    value: '-1'
  - key: 'ucredit'
    value: '-1'
  - key: 'ocredit'
    value: '-1'
  - key: 'lcredit'
    value: '-1'

# 5.4.1.1 Password

password:
  max_days: 365
  min_days: 7
  warn_age: 7
  inactive: 30


# ======== EXTRAS ===================
nameservers: [8.8.8.8, 8.8.4.4]